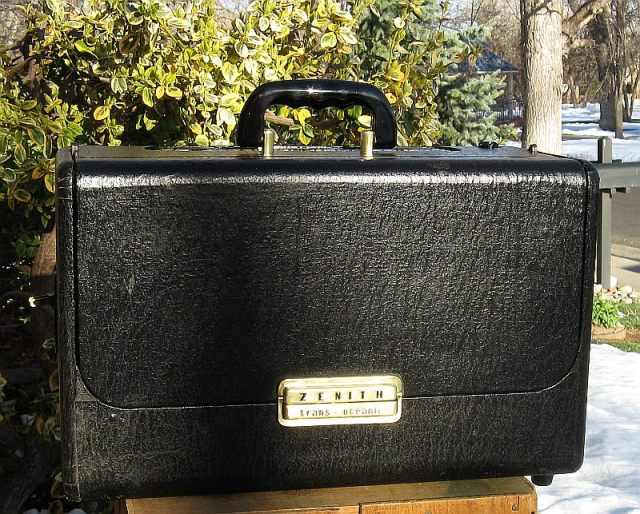
Restoration Page

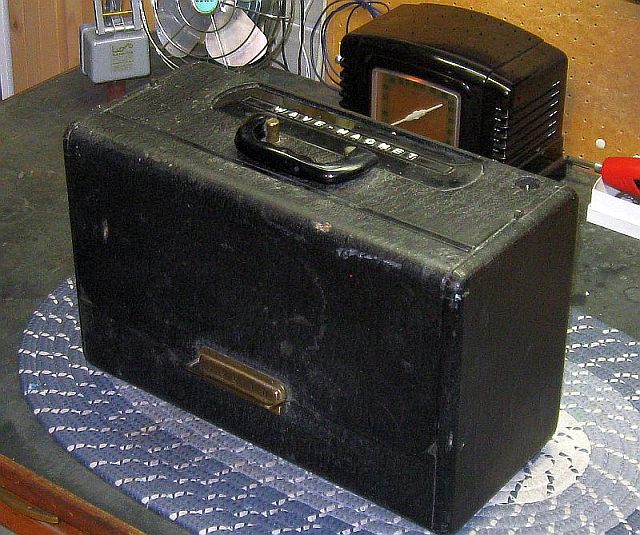
This Zenith was surprisingly complete, but not functioning, when found.
The knobs, antennas, tubes and even rubber feet were intact.
***********************************
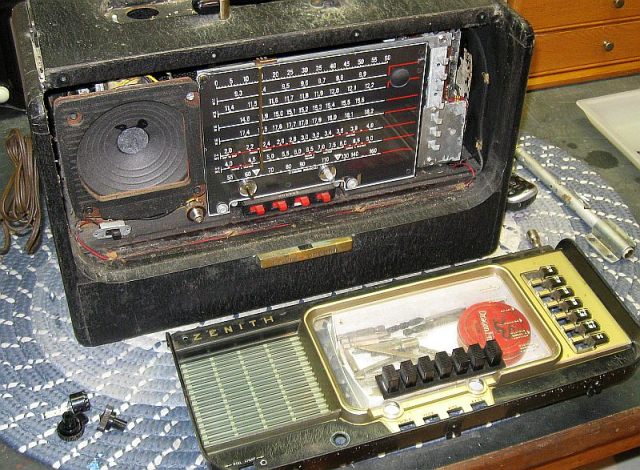

As always, the first step is to disassemble the radio.
The knobs and front panel were removed first.
The telescoping shortwave antenna was removed next.
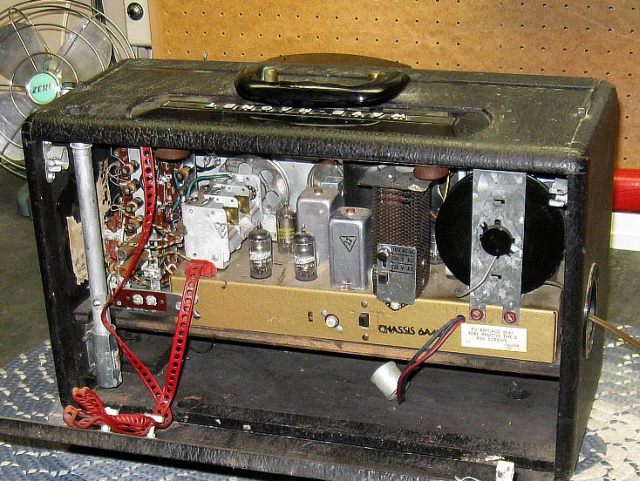
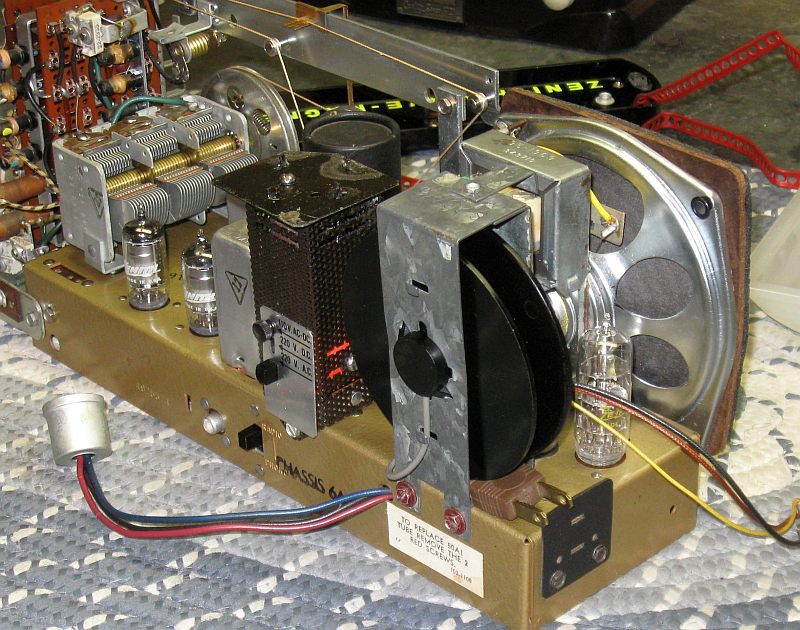
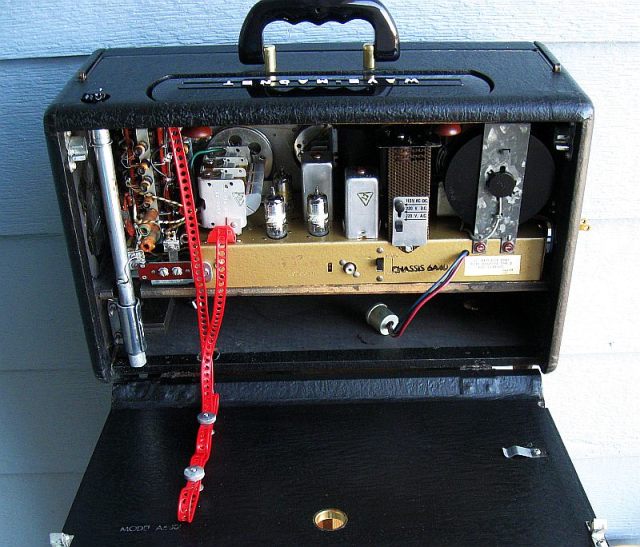
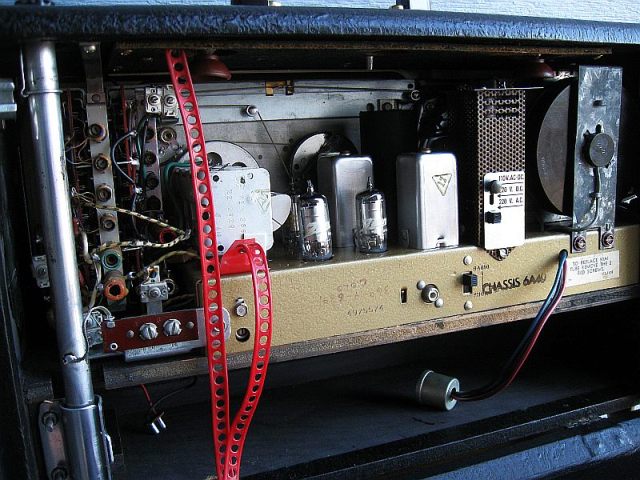
The chassis was then pulled.
It is held in place with two screws, which can be removed via access holes in the bottom of the case.
NOTE: Be VERY careful when handling the chassis.
Don't damage the fine wires on the band switch tower when removing the chassis from the case!
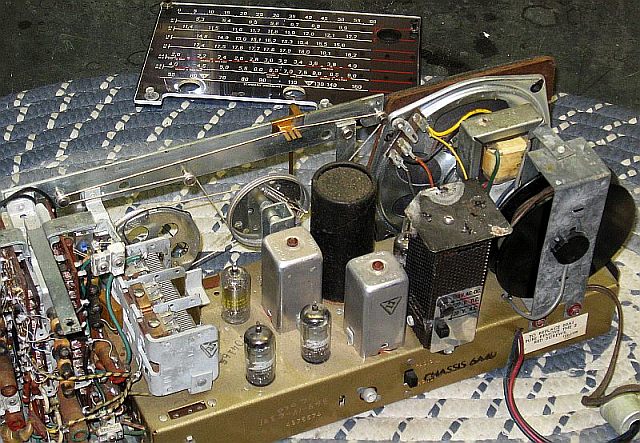
The tubes were removed, cleaned carefully (don't accidently wipe off the manufacturer's name or tube designation)
and they tested strong on a Precision tube tester.
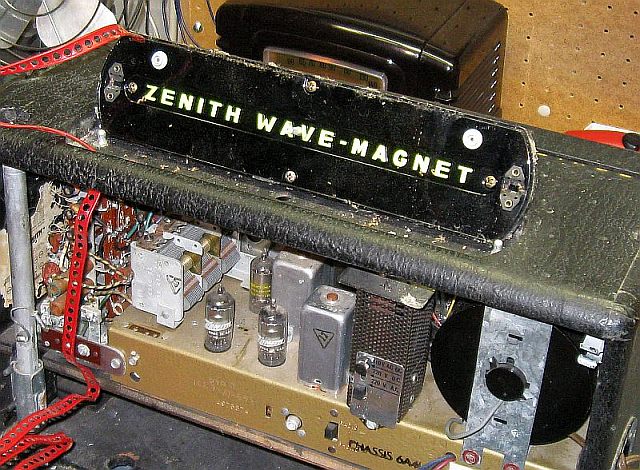
They are all original Zenith tubes, including the 1L6 & 50A1.
The chassis was blown clean, top and bottom, using a compressor.
If you do this, take care not to damage the speaker cone with a strong blast of air!
All components and solder joints looked solid, no obvious damage to caps or resistors.
*****************************************
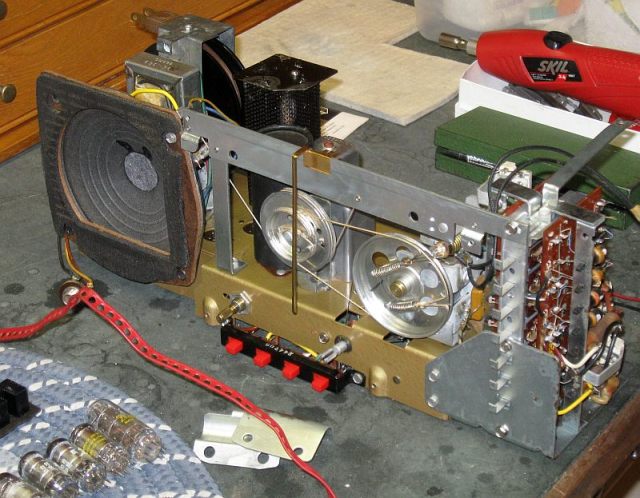

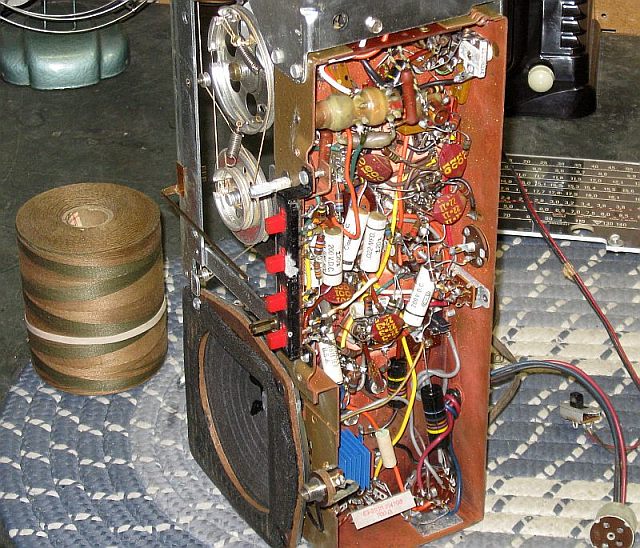
The chassis was cleaned and all pots, switches and controls sprayed with a good electronics cleaner/lube.
All moving parts were cleaned and lubricated with a quality oil or grease, as needed.
The original AC cord was in poor condition and had been spliced in the past.
Rather than splice another cord in place, the wind up reel was removed and dismantled and a new AC cord installed.
I do not recommend this unless necessary, as it is a bit of a 'Rube Goldberg' device and difficult to reassemble!
The new cord and reel now function flawlessly.
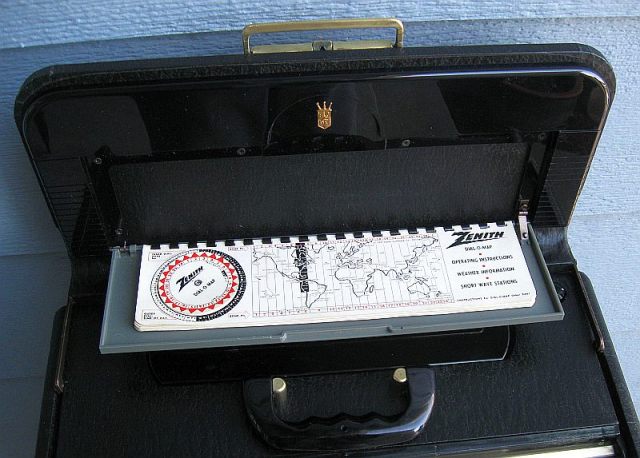
A new dial string was installed, as one was broken.
Luckily, the spring and broken dial string were still there and I was able to measure the string for a replacement.
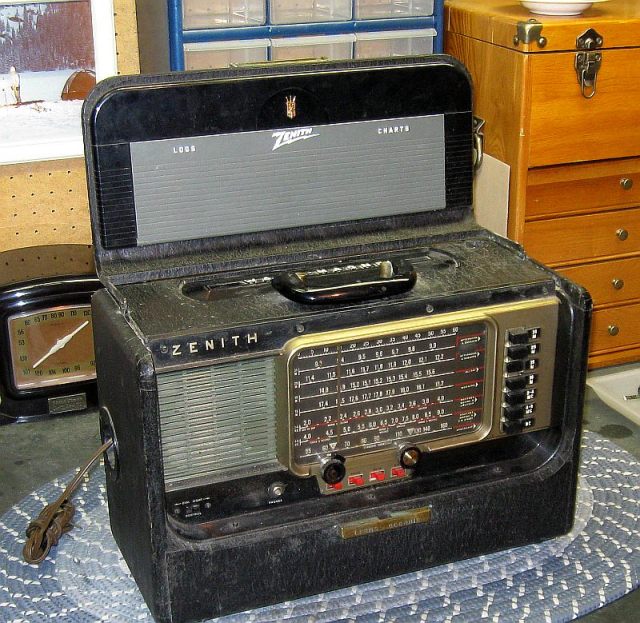
Time to test the radio...
Tubes were installed, an external antenna connected, AC cord plugged in and the radio turned on.
After a short wait, reception on all bands was fantastic!
Good selectivity, sensitivity and lots of volume.
Such a deal...
*******************************************
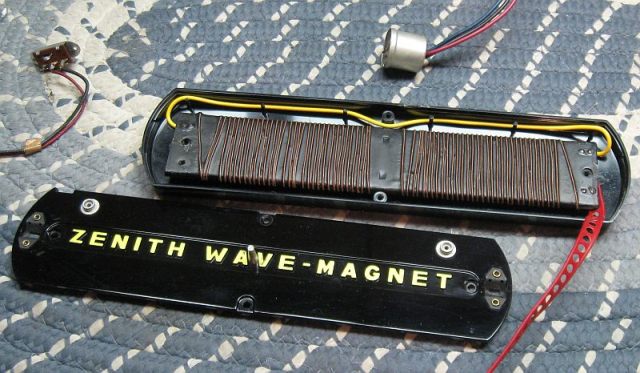
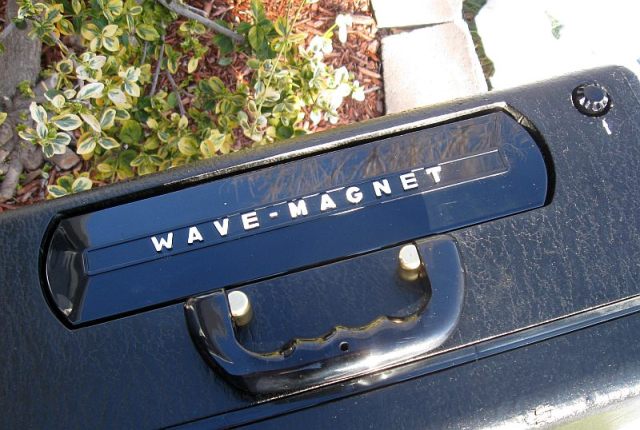
The Zenith Wave-Magnet antenna was disassembled for easier cleaning and polishing... yes, that is what it looks like inside!
The Wave-Magnet looked like glue had been spilled on it and needed extra attention.
The white lettering was also repainted.
***************************************
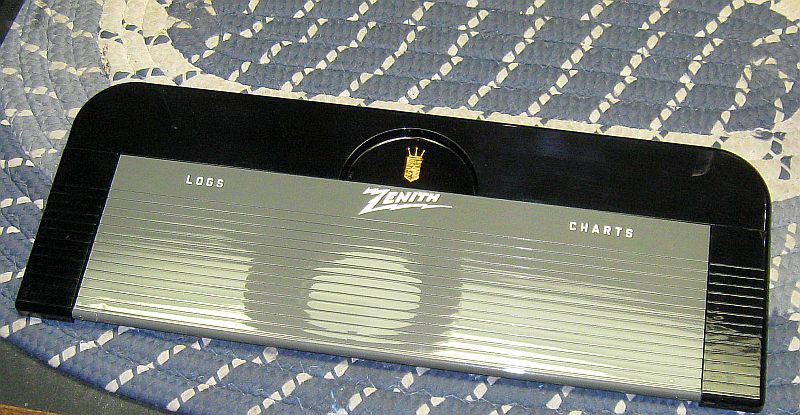
All plastic parts were cleaned with soap and water and polished with Novus 2 plastic polish.
NOTE: Take care cleaning and polishing the inside of the front panel.
Don't damage or rub off the lettering!
The black case handle was deeply scratched, which required wet sanding before final polishing.
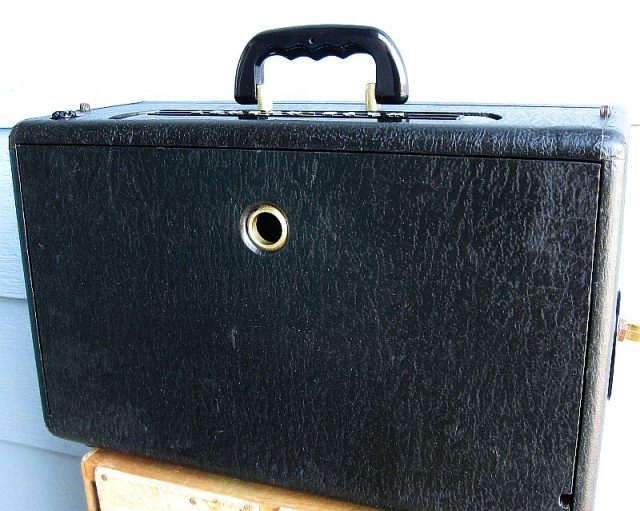
On this model, there is a small hole on the back side of the handle.
This is for the Wave-Magnet antenna to sit in, which has a small post on the bottom side.
This allows the Wave-Magnet antenna to rotate, almost like a direction finder.
************************************************
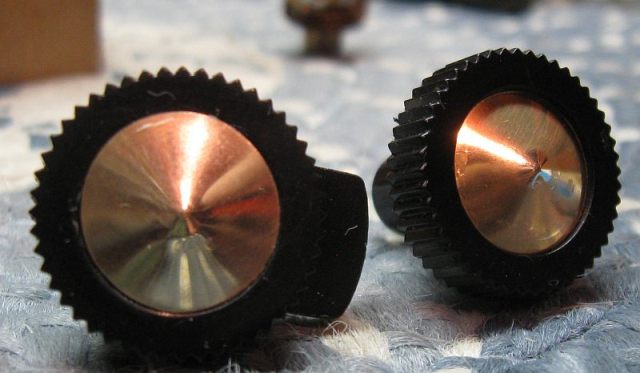
The knobs and band switch push buttons were cleaned with Mean Green (409 on steroids!) and an old toothbrush.
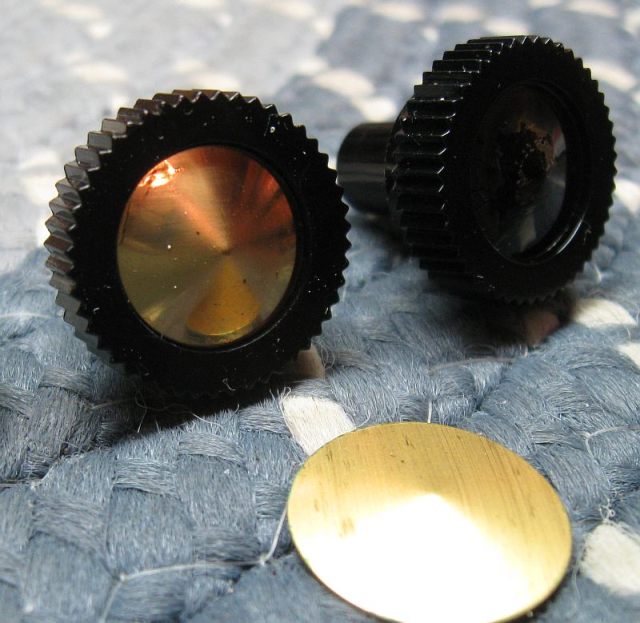
One of the knob 'brights' was missing, not unusual on these old radios.
This was replaced using a brass insert from another knob in my collection.
The insert was removed from the old knob, cut it to the correct diameter and the angle of the dome increased using a dull round punch on a thick piece of felt.
This was glued in place using contact cement.
The brass handle posts, knob brights and front latch pieces were polished using Brasso.
This took some time, but the end result is nice.
**********************************************
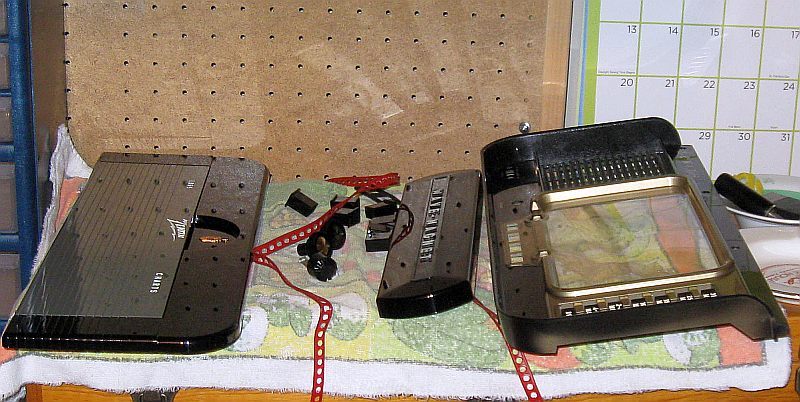
The case was disassembled and cleaned with soap and water using a soft scrub brush.
When completely dry, loose pieces of the 'stag' covering were glued back in place.
Loose threads in damaged areas and edges were removed by using a lighter to carefully burn them off.
It works... try it!
I applied Kiwi black shoe polish, the liquid with a foam applicator, evenly.
This dried almost immediately and covered the damaged areas very well.
A final coat of Black Magic, a product similar to Armor All, added a nice semi gloss finish.
The internal spring in the telescoping shortwave antenna was missing.
The base of the antenna was open, no metal cap.
Without this spring, the antenna knob would not pop up when it was turned to the release point.
Using a small metal knob the same diameter of the base of the antenna, I glued a compression spring into the hole in the center of the metal knob.
This spring extends far enough to push the center section of the antenna up an inch or so... perfect!
The knob is attached to the base of the antenna and works well.
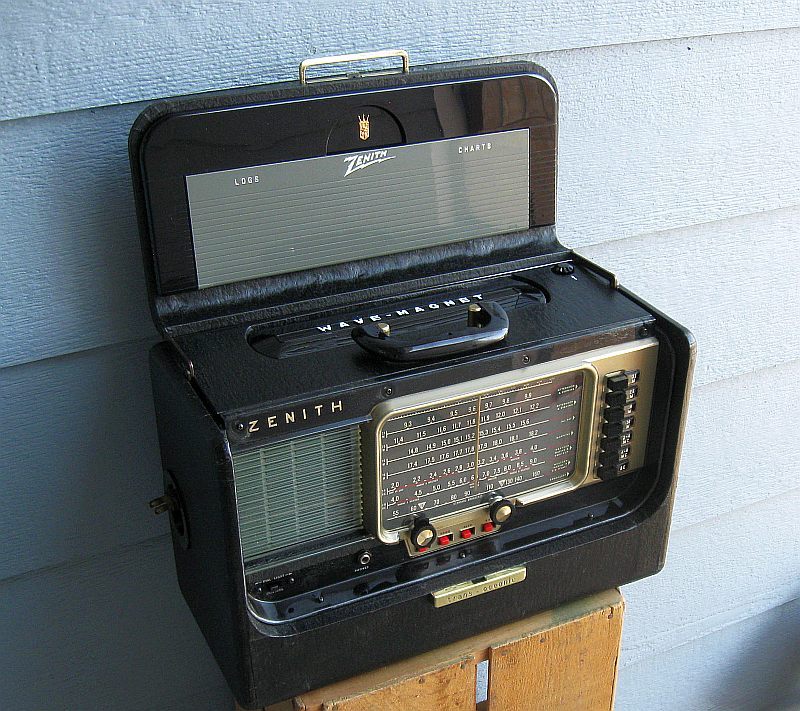
The radio was reassembled and looks as good as it works.
NOTE: Do not tighten the screws too much when installing the front panel, as this will crack the panel!
Hand tighten to snug and back off 1/2 turn.
_____________________________________________________________________
The 600 series of Zenith Trans-Oceanics were manufactured between 1954 - 1962,
this radio is dated April 16, 1957 on the inside of the case.
The Model A600 was the second to the last of the tube driven Trans-Oceanics.
After that, they went to the all transistor Zenith Trans-Oceanic Royal radios.
___________________________________________________________________
***Features***
6 Tubes:
1U4 1L6 1U4 1U5 3V4 50A1
AC / DC Power
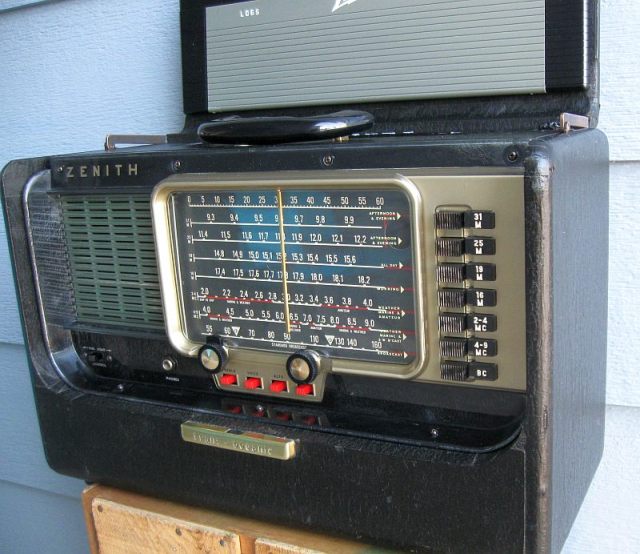
Slide Rule Dial
Spring Loaded AC Cord Reel
Chassis 6A40 with slide switch on rear for radio / phono selection
7 Bands:
Broadcast Band: 540 - 1600 kHz
4.0 - 9.0 MHz
2.0 - 4.0 MHZ
16 meter Band: 17.40 - 18.20 MHz
19 meter Band: 14.80 - 15.60 MHz
25 meter Band: 11.40 - 12.20 MHz
31 meter Band: 9.30 - 9.90 MHz
Price new... $140
_______________________________________________________
Back
Created by Paul's Pages
2016