Restoration


First step was to remove the speaker, antenna and chassis from the radio.
I used a compressor to blow out the chassis and cabinet.
The cabinet was washed with soap and water... don't get it too wet!
**************************


The chassis was in very poor condition, but cleaned up nicely!
All tubes were carefully cleaned and checked on a Precision tube tester.
The knobs and pushbuttons were cleaned and polished.
All controls, switches and pots were sprayed with a good electronic cleaner and moving parts cleaned and lubricated, as well.
The electrolytic and paper caps were replaced.
********************************

The cabinet was carefully hand sanded...
***********************************


Several coats of Tru-Oil later...
*********************************

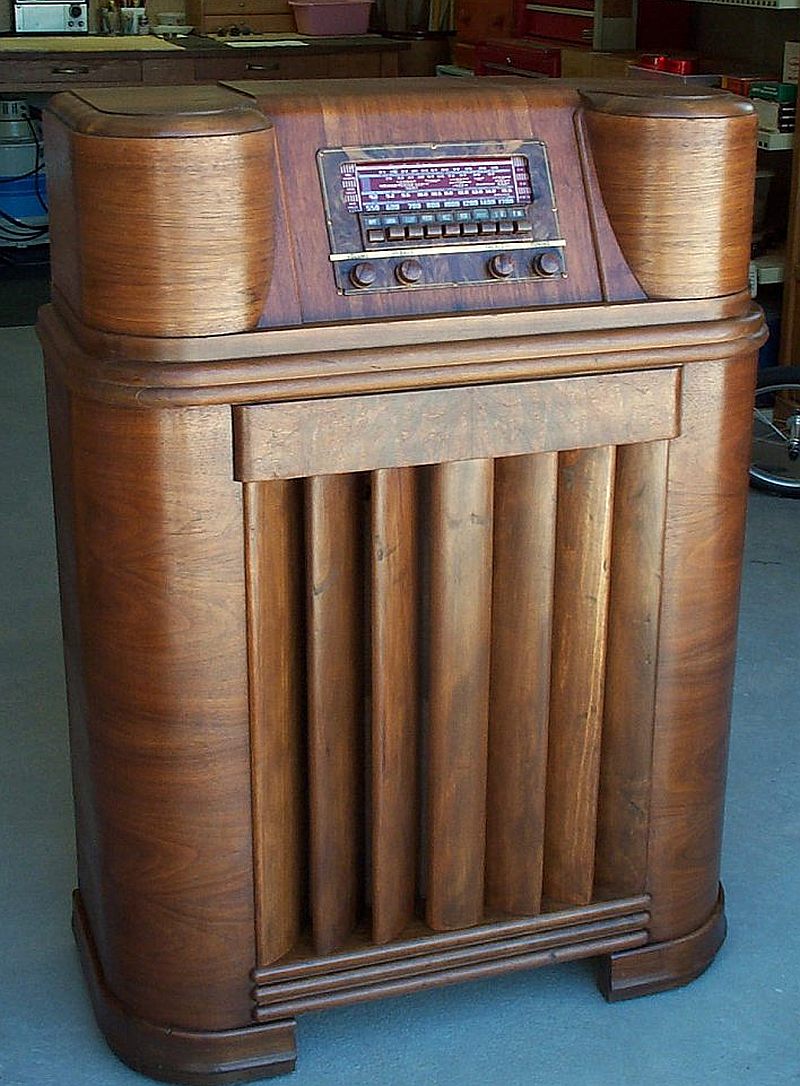
The Philco back together again!
This radio works well and has good selectivity and sensitivity.
_______________________________________________
Back
Created by Paul's Pages
2016